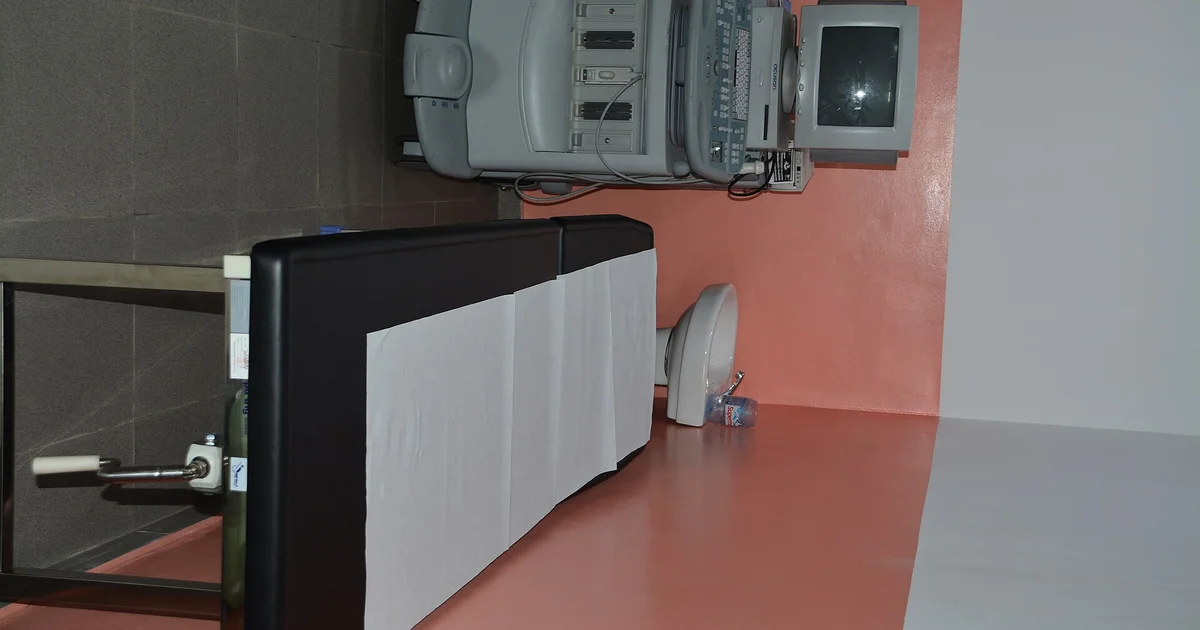
Most fertility clinics require a saline sonogram (SIS) at some point before an embryo transfer — a 30-minute office ultrasound that flushes the uterine cavity with sterile saline to reveal polyps, fibroids and scar tissue. Against hysteroscopy, the gold standard, 2D SIS detects focal cavity lesions with about 91% sensitivity and 96% specificity, and costs roughly $200-$600 out of pocket in the United States.
What Is a Saline Sonogram, or SIS, and Why Do Clinics Order It?
A saline sonogram — also called saline infusion sonography or sonohysterography — is a specialized pelvic ultrasound in which a clinician passes a thin soft tube through the cervix and slowly fills the uterus with sterile saline. The fluid separates the collapsed cavity walls so the probe can image the endometrial lining in far more detail than a standard transvaginal ultrasound, ACOG.
The test takes under 30 minutes in the office and uses no radiation. Fertility doctors order SIS for four main situations:
- Before a first IVF cycle — as a baseline cavity check, especially when an HSG or routine ultrasound was inconclusive.
- Before a frozen embryo transfer (FET) — many clinics want a recent, clear image of the cavity before thawing a valuable embryo.
- After failed transfers — when good-quality embryos did not implant, the cavity becomes a prime suspect (see our repeated implantation failure guide).
- After miscarriage or pregnancy loss — to rule out retained tissue, scar tissue or structural problems before trying again (relevant if you are exploring IVF after recurrent pregnancy loss).
SIS answers one specific question: is the inside of the uterus a good place for an embryo to implant?
What Can SIS Find That a Regular Ultrasound Misses?
A standard ultrasound sees the uterus’s outer shape and lining thickness, but the collapsed cavity can hide small lesions; the saline “window” makes focal abnormalities inside the cavity visible. The findings that matter most for IVF are polyps, submucosal fibroids, adhesions, shape variants and lining problems.
| Finding | What it is | Why it matters for IVF |
|---|---|---|
| Endometrial polyp | Soft overgrowth on the lining | Acts like an IUD inside the uterus and can block implantation; usually removed before transfer |
| Submucosal fibroid | Fibroid bulging into the cavity | Depending on size and location, may distort the cavity or compromise blood supply |
| Intrauterine adhesion (scar tissue) | Bands of scar inside the cavity | Can prevent implantation or cause early pregnancy loss |
| Uterine shape abnormality | Septum or other structural variant | Some cases need surgical correction before transfer |
| Lining problems | Thickened or irregular endometrium | May prompt a biopsy or further investigation |
ACOG lists the same scope: SIS can detect abnormal growths such as polyps and fibroids (including their size and depth), scar tissue, abnormal uterine shape and lining problems, and with a bubble technique it can also indicate whether the fallopian tubes are open, ACOG. If you have had two or more unexplained failed transfers, a cavity check is a standard part of the work-up — SIS appears in the investigation table of our repeated implantation failure guide.
How Is SIS Different From an HSG or a Hysteroscopy?
Patients routinely mix up these three tests because all of them “look at the uterus,” but each answers a different question. The memory rule: HSG asks “are the tubes open?”, SIS asks “is the cavity clean?”, and hysteroscopy both looks directly and treats in the same session.
| Test | What it visualizes | Fluid / method | Radiation? | Typical setting |
|---|---|---|---|---|
| Saline sonogram (SIS) | Uterine cavity in detail | Sterile saline + transvaginal ultrasound | No | Office, ~15-30 min |
| HSG (hysterosalpingogram) | Fallopian tubes mainly; rough cavity outline | Iodine contrast + X-ray | Yes (low dose) | Radiology suite |
| Hysteroscopy | Direct visual look at the cavity | Endoscope through the cervix | No | Office or operating room |
When a tubal problem is specifically suspected, ACOG and RadiologyInfo note that HSG — not SIS — is the test for tubal evaluation; SIS is primarily a cavity test, RadiologyInfo. Hysteroscopy remains the reference standard when SIS findings need confirmation or removal.
What Happens During a Saline Sonogram?
Knowing the steps reduces anxiety — this is a short outpatient test with six stages. The whole visit usually fits inside 30 minutes.
- Pre-checks. SIS is not performed if you are pregnant or have a pelvic infection, so you may take a urine pregnancy test and answer questions about latex allergy; the appointment is timed after your period ends and before ovulation, because bleeding blurs the images, ACOG.
- You empty your bladder and lie on the exam table with your feet in stirrups.
- A first transvaginal ultrasound examines the uterus and ovaries.
- The speculum is placed, the cervix is cleaned, and the thin soft tube is guided into the cervical opening.
- The speculum is removed, the ultrasound probe returns, and sterile saline is slowly infused — you will feel pressure or cramping as the fluid fills the uterus.
- The doctor images the cavity in several planes, measures anything suspicious, and the fluid drains out through the tube.
Most women describe the cramping as similar to strong period pain. ACOG suggests taking an over-the-counter pain reliever such as ibuprofen or acetaminophen beforehand if your clinician approves, ACOG, and light spotting or watery discharge for a day or two afterward is normal.
If you worry about discomfort, see our honest breakdown of which step of IVF hurts the most — patients consistently rank SIS and HSG as uncomfortable but brief.
How Accurate Is a Saline Sonogram?
The best evidence comes from a 2017 Cochrane systematic review that benchmarked saline infusion sonography against hysteroscopy, the visual gold standard — Nieuwenhuis et al., 2017. It compared conventional 2D SIS, the version most clinics use, against 3D SIS in eight head-to-head studies.
“For 2D SIS, summary sensitivity was 90.9% (95% CI 81.2% to 95.8%) and summary specificity was 96.3% (95% CI 86.1% to 99.1%).” — Nieuwenhuis et al., Cochrane Database of Systematic Reviews, 2017
In plain terms, 2D SIS catches about 9 of every 10 focal lesions that are really there, and it rarely flags a normal cavity as abnormal. For readers of the statistics: a 95% CI (confidence interval) is the range in which the true value most likely falls — a wider interval means a less precise estimate.
The same review put 3D SIS at 96.9% sensitivity and 99.5% specificity, but the gap between 2D and 3D was not statistically significant (P = 0.07 for sensitivity, P = 0.10 for specificity). A P value measures how likely an observed difference is due to chance — the larger it is, the weaker the evidence that the gap is real — so there is no strong case for paying extra for 3D imaging.
One honest caveat: the Cochrane authors graded the overall evidence quality as low, mainly because the underlying studies reported their methods incompletely. Even so, this is the best available summary, and it is why clinics treat SIS as a reliable first-line cavity screen — a normal SIS is reassuring but not a 100% guarantee, and an abnormal SIS usually needs hysteroscopic confirmation anyway.
What Happens If the SIS Finds Something?
An abnormal SIS is often good news in disguise: it hands you a concrete, usually fixable reason for past failures or reduced odds. The four most common findings each have a standard path.
- Polyps are typically removed by hysteroscopy (outpatient or day surgery), and the next transfer is scheduled once the cavity has healed.
- Submucosal fibroids may be removed hysteroscopically depending on size and depth, with a repeat ultrasound confirming a normal cavity before transfer.
- Adhesions can usually be divided during hysteroscopy; your doctor may add a short course of estrogen and a follow-up SIS to confirm the cavity stays open.
- A uterine septum may be resected hysteroscopically in selected cases.
After treatment, most clinics order a repeat SIS — the same quick test — to document a clean cavity before thawing embryos or starting a new stimulation cycle.
How Much Does a Saline Sonogram Cost?
In the United States, a self-pay SIS typically runs $200-$600 depending on the clinic and region — one of the more affordable tests in a fertility work-up. If your insurance covers diagnostic gynecologic imaging, you may owe only a copay or coinsurance, but many plans classify fertility-related testing separately, so call your insurer before booking.
Clinics that quote “work-up” or “pre-IVF package” prices often bundle SIS into the package, which can lower the effective cost further. Outside the US, pricing varies widely by country and clinic, and some public health systems include SIS in the standard fertility investigation. Your ProIVF coordinator can help you compare how the cavity check is billed at clinics in our directory before you commit.
What Do Patients Say About Their SIS Results?
Three patients share how one 30-minute test changed their IVF path. Stories are shared with permission and edited for clarity; individual experiences vary and do not guarantee any outcome.
Case 1 — Maya, 34, United States: two “unexplained” failures. After two frozen transfers of good-quality embryos ended in negative tests, Maya’s doctor ordered SIS before a third attempt. “I assumed the embryos were the problem. The SIS found a 1.2 cm polyp I’d never heard of.”
She had hysteroscopic removal (about $2,000-$3,000 applied to her out-of-pocket maximum), waited one cycle, and her next frozen transfer resulted in a live birth — the SIS itself cost her around $350 out of pocket.
Case 2 — Elena, 38, United States: the routine pre-FET check. Elena’s clinic required a recent cavity check before thawing her only frozen embryo, and her prior ultrasounds had all looked normal. The SIS showed a thin band of adhesion near the fundus. “I nearly skipped the test to save money. That one decision probably saved my only embryo from a wasted transfer.”
The adhesion was divided in a 20-minute office hysteroscopy, and her transfer succeeded.
Case 3 — Priya, 41, United States: after two early losses. After two first-trimester miscarriages, Priya’s work-up included SIS, which came back clean — no polyps, no fibroids, no scar tissue. “It was oddly comforting to know the cavity was fine. It meant we could focus our energy on embryo genetics.”
She proceeded to IVF with preimplantation genetic testing and transferred a euploid embryo successfully.
FAQ
Q: Is a saline sonogram required before IVF?
Most clinics require a cavity assessment at some point before transfer, but not every patient needs SIS specifically — a recent normal HSG, hysteroscopy or ultrasound may be accepted instead. After failed transfers or losses, SIS becomes close to mandatory because it is the most convenient way to rule out polyps, adhesions and fibroids, with roughly 91% sensitivity and 96% specificity in the Cochrane data.
Q: Does a saline sonogram hurt?
Most women feel cramping like strong period pain while the saline fills the uterus, but the infusion itself lasts only a minute or two and the whole test is usually under 30 minutes. Ibuprofen or acetaminophen beforehand helps if your clinician approves, and light spotting for 1-2 days afterward is normal.
Q: When in my cycle should SIS be done?
Usually after your period ends and before ovulation — roughly cycle days 5-12 in a typical 28-day cycle. Clinics avoid scheduling during bleeding because menstrual blood blurs the images.
Q: What is the difference between SIS and HSG?
HSG uses X-ray contrast to check whether the fallopian tubes are open and gives only a rough outline of the cavity, while SIS uses saline plus ultrasound for a detailed cavity view without reliably evaluating the tubes. The 2 tests overlap in one place: some clinics add a bubble technique during SIS for a tubal patency check.
Q: Can SIS detect polyps that a regular ultrasound misses?
Yes — that is exactly what the fluid window does: a collapsed cavity hides small polyps on routine transvaginal ultrasound, and saline separates the walls so focal lesions become visible. In the Cochrane analysis, SIS identified about 9 of 10 focal abnormalities later confirmed by hysteroscopy.
Q: What happens if my SIS is abnormal?
You will usually be offered hysteroscopy — direct visual inspection — to confirm the finding and often remove it in the same session, covering polyps, adhesions and some fibroids and septa. Most procedures are outpatient or day-surgery, and most clinics repeat a SIS after healing, typically about 1 cycle later, before scheduling transfer.
Q: How soon after SIS can I start IVF or a frozen transfer?
A normal SIS allows you to start immediately — the very next cycle is fine. If a polyp or adhesion was removed, your doctor will confirm healing time, usually about 1 menstrual cycle and sometimes longer after larger fibroid removals.
Q: Does insurance cover a saline sonogram?
It depends on the plan: if diagnostic gynecologic ultrasound is covered, SIS often is too, sometimes with pre-authorization, and plans that exclude fertility treatment may still cover SIS under a diagnostic code. Call your insurer with the exact procedure name (sonohysterography) before booking, and ask the clinic for the self-pay price — typically $200-$600 — in case coverage is denied.
How to Plan Your Cavity Check Before IVF
If SIS is on your clinic’s checklist, work through this five-point action plan before booking. Each step protects both your budget and your embryo.
- Ask what your clinic actually needs. Some accept a recent HSG or hysteroscopy; others want SIS specifically before FET — confirm the exact test and timing so you do not pay for a duplicate.
- Time it correctly. Schedule after your period and before ovulation, and check whether a pregnancy test or medication is needed beforehand.
- Prepare for mild cramping. Have ibuprofen or acetaminophen on hand and keep the afternoon low-key; most women feel normal within hours.
- Confirm costs upfront. Ask for the self-pay price, the insurance billing code, and whether SIS is bundled into a pre-IVF package.
- Bring previous images or reports. Showing an outside HSG or ultrasound can spare you a repeat test.
If your clinic is recommending tests you are unsure about, our guide to what to focus on first in your IVF journey walks through the standard work-up order, and the step-by-step IVF process guide shows where the cavity check sits in the overall timeline.
About this article: Written by the ProIVF Medical Editorial Team using ACOG patient education on sonohysterography, the Cochrane systematic review indexed in PubMed, PMID: 28472862, RadiologyInfo (an RSNA/ACR patient resource) and ASRM guidance. Reviewed by the ProIVF Medical Advisory Board; our editorial standards are on our About page.
Last updated: September 5, 2026. This article is for educational purposes only and does not constitute medical advice; SIS indications, accuracy and costs vary by individual history, clinic protocol and jurisdiction. Discuss your own cavity assessment with your fertility specialist, and verify pricing with your clinic and insurer before booking.
Find IVF clinics · Talk to a ProIVF coordinator · About ProIVF